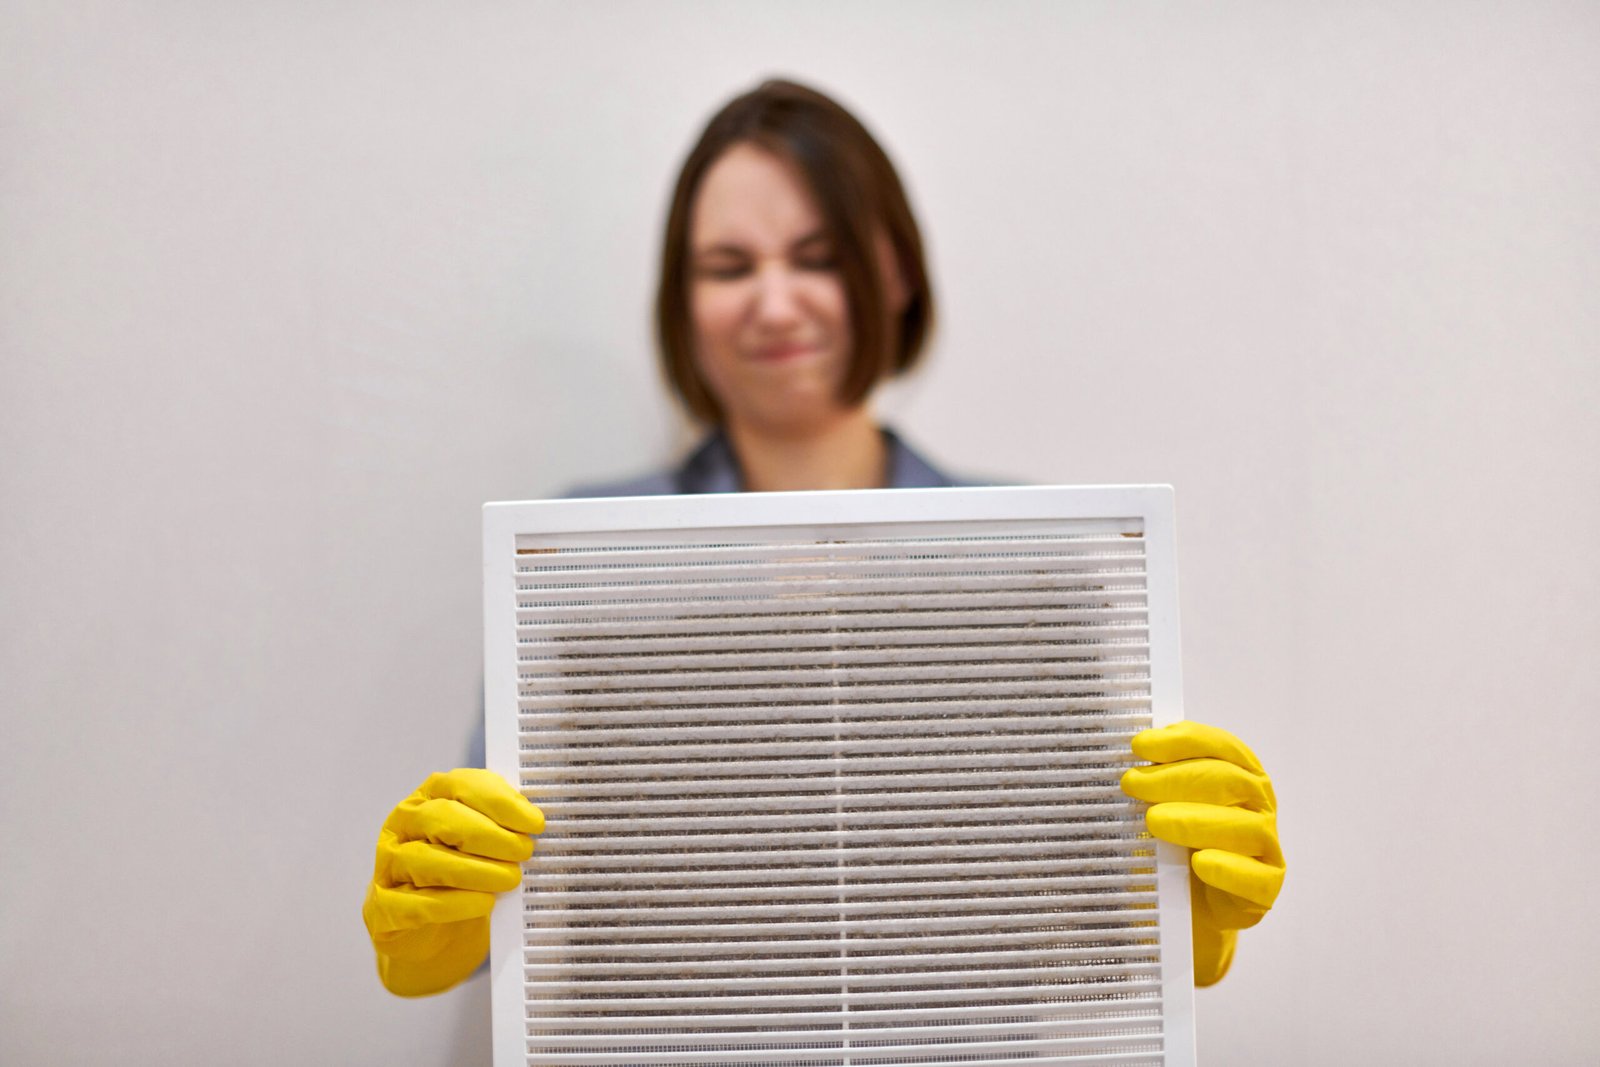
Air duct cleaning is a crucial maintenance task that enhances indoor air quality and improves the efficiency of heating and cooling systems. As dust, allergens, and other contaminants accumulate in the ducts over time, they can circulate throughout your home, leading to health issues and reduced system performance. This article provides a detailed overview of the air duct cleaning process, breaking it down into clear, actionable steps.
Why Clean Air Ducts?
Before diving into the cleaning process, it’s essential to understand the benefits of cleaning air ducts. Regular cleaning can:
- Improve Indoor Air Quality: Dust, mold, and allergens can accumulate in your ducts, leading to respiratory issues. Cleaning air ducts helps remove these contaminants, promoting healthier air.
- Enhance HVAC Efficiency: A clean duct system allows your HVAC system to operate more efficiently, potentially lowering energy bills.
- Reduce Allergens: Regular cleaning can significantly reduce allergens in your home, making it a more comfortable environment, especially for allergy sufferers.
- Prevent Fire Hazards: Dust and debris buildup can pose a fire risk in your heating systems. Cleaning helps mitigate this risk.
Step 1: Initial Inspection
The first step in the air duct cleaning process is an initial inspection. A professional technician will examine your duct system to assess its condition and identify any issues. During this inspection, they will look for:
- Signs of Contamination: This includes dust buildup, mold growth, or evidence of pests.
- Duct Integrity: Inspecting for leaks, damage, or poor connections is essential for effective cleaning and efficiency.
- Access Points: The technician will identify access points for cleaning equipment to ensure thorough cleaning.
Step 2: Preparing the Space
Once the inspection is complete, the technician will prepare the space for cleaning. This preparation includes:
- Covering Furniture: To protect your belongings from dust and debris, the technician will cover furniture and flooring near the air ducts.
- Setting Up Equipment: The technician will bring in specialized cleaning equipment, such as vacuums with HEPA filters, air compressors, and various brushes to dislodge contaminants.
Step 3: Sealing Off Ducts
Before beginning the actual cleaning process, the technician will seal off the ducts. This step involves:
- Using a Negative Air Pressure System: A vacuum will be attached to the main duct to create negative air pressure. This system helps prevent dust and debris from escaping into your home during the cleaning process.
- Covering Supply Vents: Vents throughout the home will be sealed to ensure all contaminants are directed into the vacuum system.
Step 4: Cleaning Air Ducts
The core of the process involves thoroughly cleaning the ducts. This is typically done in the following manner:
4.1. Agitation
The technician will use specialized brushes and air whips to agitate dust and debris within the ducts. This agitation helps dislodge stubborn contaminants that may be clinging to the duct walls.
4.2. Vacuuming
After agitation, the vacuum system will effectively remove the loosened debris from the ducts. The vacuum is powerful enough to capture even the smallest particles, ensuring a thorough clean.
4.3. Cleaning of Other Components
In addition to cleaning the ducts themselves, other components of the HVAC system may also be cleaned, including:
- Blower Fans: Cleaning the blower fans ensures optimal airflow and efficiency.
- Coils: Cleaning evaporator and condenser coils can improve HVAC efficiency and extend the system’s lifespan.
Step 5: Sanitizing the Ducts
After the cleaning is complete, sanitizing the ducts is an important step to ensure a healthy environment. This involves:
- Applying an EPA-Registered Biocide: This treatment can help eliminate mold spores and bacteria that may remain after cleaning.
- Optional Sealants: Some technicians may recommend applying a sealant to prevent future dust accumulation and improve air quality.
Step 6: Final Inspection and Testing
Once the cleaning and sanitization processes are complete, the technician will perform a final inspection. This step ensures that:
- All Debris is Removed: A thorough check is made to confirm that all contaminants have been effectively removed.
- System is Functioning Properly: The technician will turn on the HVAC system to ensure everything is working correctly and that airflow is optimal.
Step 7: Maintenance Recommendations
After completing the air duct cleaning process, the technician will provide recommendations for maintaining clean ducts. These may include:
- Regular Cleaning Schedule: It is generally recommended to clean air ducts every 3 to 5 years, depending on various factors like household size, pets, and allergies.
- Change Filters Regularly: Changing your HVAC filters regularly helps reduce dust and allergens in the ducts.
- Consider Additional Services: Services like dryer vent cleaning can also help maintain air quality in your home.
Experience the Best Air Duct Cleaning with Las Vegas Air Duct LLC
Las Vegas Air Duct LLC is dedicated to providing exceptional air duct cleaning services throughout the vibrant city of Las Vegas. Our mission is to enhance indoor air quality and optimize the efficiency of your HVAC systems, ensuring a healthier environment for you and your loved ones. With our skilled technicians and advanced cleaning techniques, we effectively eliminate dust, allergens, and other pollutants from your air ducts. Serving the Las Vegas area, we prioritize customer satisfaction and quality workmanship. Whether you’re a homeowner or a business owner, our team is equipped to meet your specific air duct cleaning needs. For more details on our services or to schedule an appointment, please visit our website at vegasairducts.com or contact us at (702) 500-0996. Choose Las Vegas Air Duct LLC for cleaner air and improved HVAC efficiency!
